
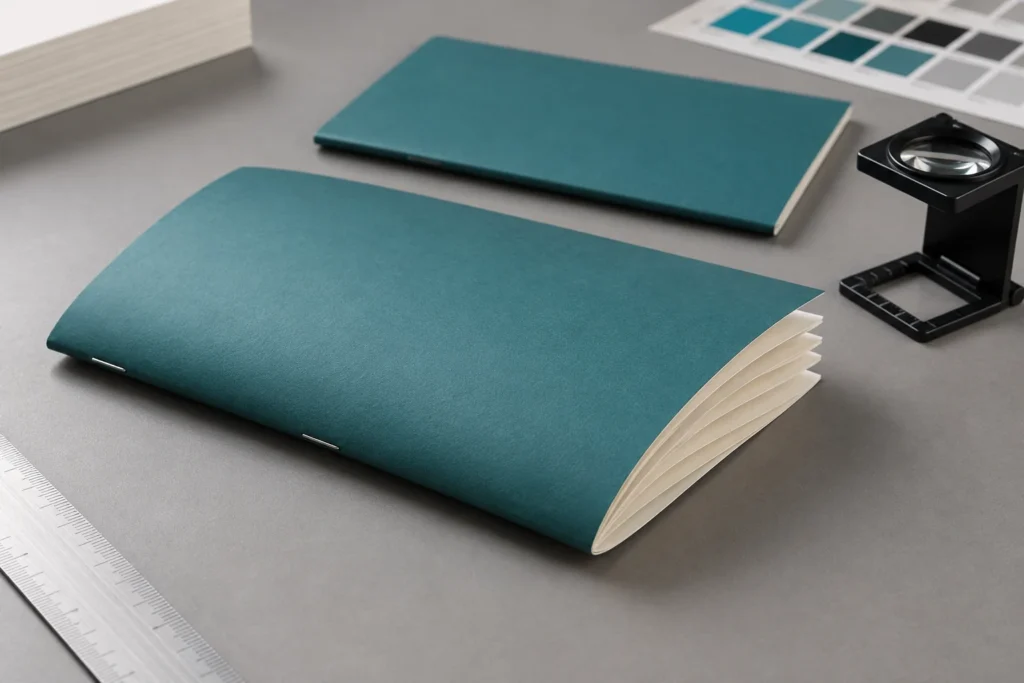
Saddle stitch creep is the progressive outward displacement of inner pages caused by nesting folded sheets. When the booklet is trimmed to a common fore-edge, more paper can be removed from the protruding inner leaves. Artwork near that edge may end up with a smaller visible margin unless the layout and imposition account for the construction.
Agree who will apply creep compensation before supplying files. In a commercial workflow, the printer commonly handles it during imposition, using the final page count and actual paper. Do not manually shift pages and then allow the same adjustment to be applied again. This guide explains the layout risks, file handoff and proof checks a booklet buyer should resolve.
How Saddle Stitch Creep Changes a Booklet
Saddle stitching joins folded sheets through their shared fold. Each inner sheet must fit inside the sheets around it, so its fore-edge can project farther outward. That projection is easiest to see in an untrimmed folded dummy made from the proposed papers.
The finishing operation establishes the final page edges. If the artwork stays at the same nominal coordinates on every sheet, the inner-page content can appear closer to the trimmed fore-edge. Page numbers, thin borders and repeated vertical rules make the difference especially noticeable.
Adobe’s InDesign creep guidance describes progressive content shifts based on each sheet’s position. The relevant adjustment is therefore a sequence across the nested sheets, rather than one identical offset added to every page.
Creep compensation adjusts content placement; it does not make the paper thinner or remove the physical nesting effect. The goal is to preserve suitable visible margins after folding and trimming. Some artwork also needs redesign because a position adjustment alone cannot protect a fragile edge treatment.
| Booklet feature | Creep-related risk | Useful design response |
|---|---|---|
| Page numbers near the fore-edge | Inner-page numbers appear closer to the cut edge | Keep folios comfortably inside the supplier-approved safe area |
| Thin border around every page | Small margin differences become visually obvious | Use a less sensitive border treatment or remove the frame |
| Repeated rules near trim | Apparent position varies across the booklet | Review outer and inner sheets together after compensation |
| Important detail near a photo edge | Extra inner-leaf trimming removes wanted content | Reframe the image before the layout is locked |
| Image across the center fold | Compensation and folding may affect the crossover | Agree the crossover treatment and inspect a folded proof |
What Determines the Amount of Creep?
The main planning variables are the number of nested sheets and their actual thickness. Cover stock, inserts, folding behavior and the finishing route also matter. A page-count-only rule cannot reliably replace those inputs.
For ordinary folded-sheet saddle-stitched booklets, each complete folded sheet creates four pages. A 32-page self-cover booklet therefore contains eight nested sheets. A specification written as “32 text pages plus a four-page cover” describes a different construction: eight text sheets and an additional cover sheet.
Always say whether the page count includes the cover and blank pages. Two buyers can both request a “32-page booklet” while expecting different files and paper quantities. That ambiguity affects the creep review as well as the quotation.
Paper GSM measures mass per area, not caliper. Two papers with the same GSM can have different thicknesses. Request the proposed paper’s thickness or an appropriate physical dummy rather than deriving the compensation from GSM alone.
Grain and fold behavior also deserve attention when the paper is changed. Our book paper grain direction guide explains why paper orientation belongs in the production specification. A dummy made from a convenient substitute stock is weaker evidence for the final booklet.

There is no universal maximum page count for saddle stitching. Equipment, paper and booklet thickness determine practical limits. For a substantially thicker job, ask whether another binding would better support the layout and handling needs. The commercial book binding comparison can help frame that discussion.
Separate Creep, Bleed and Safe Margins
Creep, bleed and safe margins address different risks. Bleed extends edge artwork beyond trim. A safe margin keeps important content inside the cut edge. Creep compensation changes content positions across nested sheets to account for thickness and folding.
| Requirement | Purpose | What to ask the printer |
|---|---|---|
| Bleed | Avoid an unintended unprinted sliver at a trimmed edge | Which bleed values and inside-edge handling should the PDF use? |
| Safe content margin | Keep text, logos and essential details away from trim | Which minimum clearances apply to this booklet and layout? |
| Creep compensation | Protect suitable content positions across nested sheets | Who applies it, from which paper data, in which imposition workflow? |
| Fold and trim tolerances | Describe acceptable manufacturing variation | How should sensitive borders and crossovers be reviewed? |
| Center-fold composition | Keep important elements readable around the fold | How will the selected compensation method treat a crossover? |
Extra bleed does not restore a page number placed too close to trim. A generous outer margin helps protect content but does not replace an imposition review. Similarly, applying creep compensation does not authorize reducing every safety clearance to the smallest possible value.
Adobe’s booklet setup documentation treats creep, spacing, bleed and margins as separate controls. Its printing-dialog margins should not be confused with the editorial safe area within the finished page. Use the printer’s confirmed artwork instructions for that safe area.
Design Pages That Tolerate Folding and Trimming
Start with a layout that has room for real manufacturing variation. Keep essential text and page numbers away from the fore-edge, and avoid making a thin border the only visual reference for alignment.
Check repeated features across several sheet positions
Do not inspect only the first spread. Compare repeated features on the outside, through the middle of the nested stack and at the center. If every page has a vertical side rule, its visible clearance should be assessed after compensation and trimming.
Keep important crossover content away from the fold
Broad backgrounds are usually more forgiving than small text, faces or fine lines crossing the center. Moving left and right page content independently can alter a continuous image. Ask the prepress team how it will protect that relationship and review the proposed treatment before approving the file.
Recheck after page count or stock changes
A late insert, added section or paper substitution changes the construction. Update the page map and request a new creep review. Do not reuse an earlier adjustment merely because the trim size and cover design are unchanged.
Keep one clean design master and a clearly identified production revision. If the printer requests a special treatment for a sensitive spread, document it so another designer does not unknowingly undo or duplicate the adjustment.
Who Should Apply Creep Compensation?
Assign responsibility to one party. For normal commercial production, agree whether the printer will impose reader-order pages and apply creep. Supply imposed spreads only when the printer explicitly requests them and confirms the required geometry.
Reader-order pages follow the sequence a person reads. Printer spreads pair pages for folding and binding; their pairs often look out of sequence before assembly. Creating those pairs in the design file without coordination can lead to incorrect page order or double imposition.
Ask for the PDF format, page order, cover separation, blank-page handling and any marks required. State that the supplied files have not received creep compensation if that is true. If a previous vendor or designer already adjusted them, describe exactly what was done rather than simply labeling the file “print-ready.”
Imposition software may express its creep parameter as a total distribution value, a sheet value or a page displacement. The sign convention may also differ. Do not copy a numeric setting between systems without confirming what it means and previewing the resulting positions.
If you are making a desktop dummy in InDesign, use its documented behavior and inspect the preview. A useful software rehearsal is not a validated production setting. Final paper selection and the commercial finishing route still need confirmation.
Check the Imposition and Folded Proof
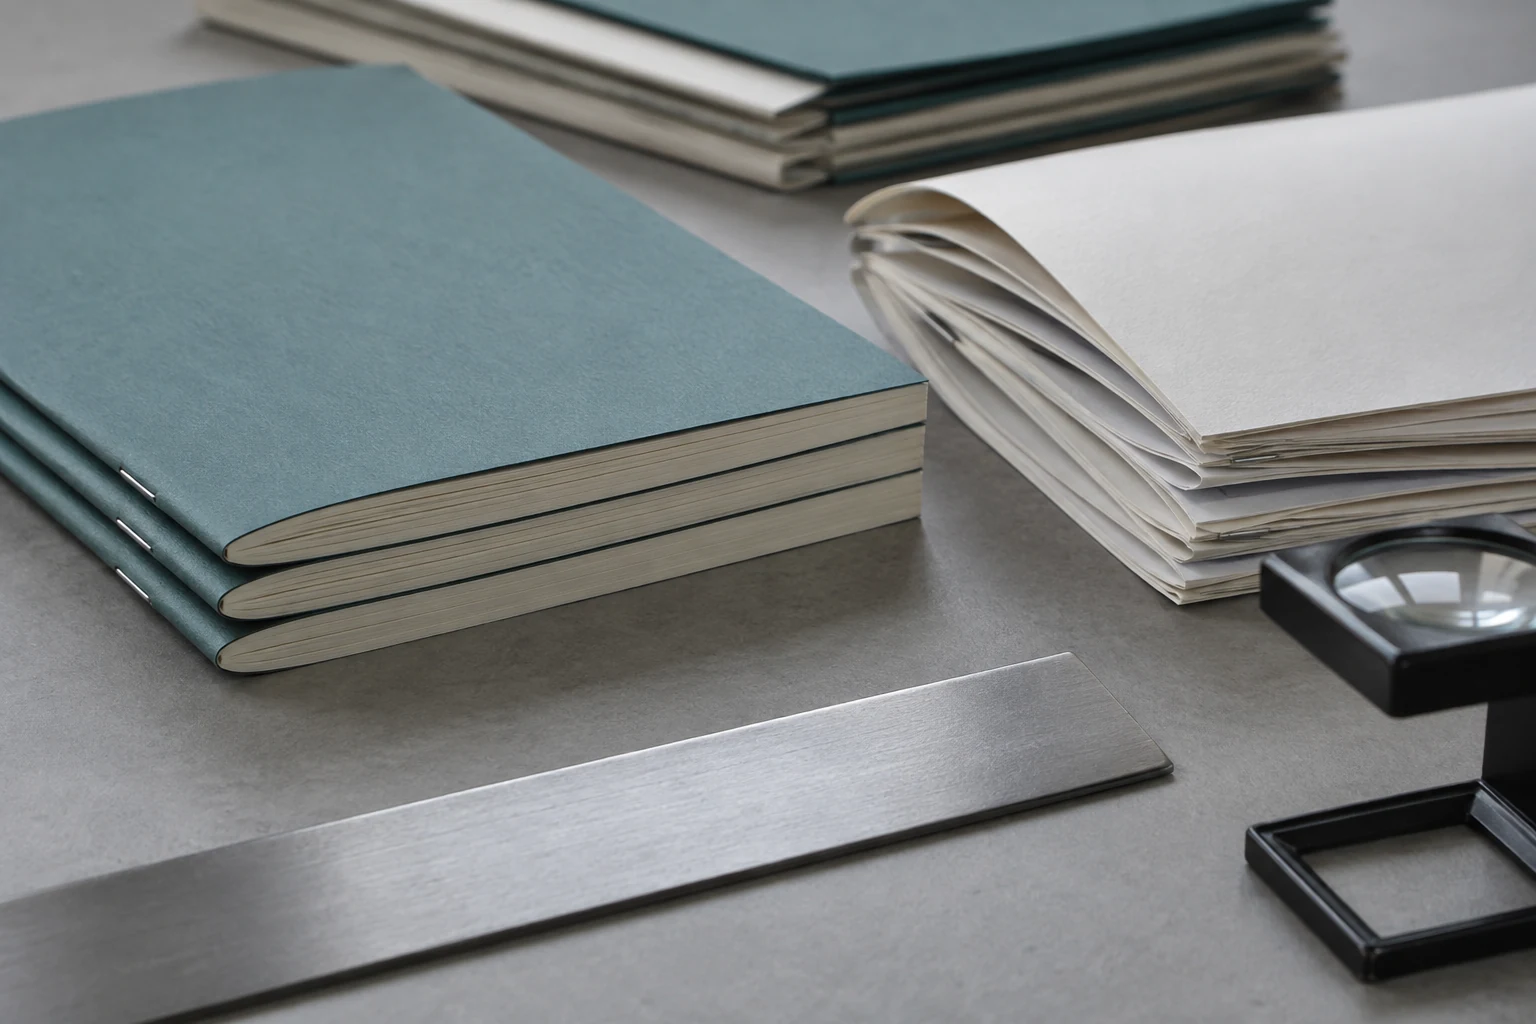
Review two things: the compensated page positions in the proposed imposition, and the physical booklet after folding and trimming. A screen proof can show page order and content movement. A suitable folded sample shows how the construction affects the finished object.
Horizon describes folding, saddle stitching and trimming on its booklet finishing system. This equipment example illustrates why the finishing route belongs in the discussion; it does not establish which machine Prikoro uses or a universal limit for your job.
| Approval check | Evidence to request | Reason to pause approval |
|---|---|---|
| Page count and cover map | Reader-order PDF and explicit cover/blank-page specification | Missing blanks or disagreement about whether the cover is included |
| Compensation ownership | Written confirmation of who applies the adjustment | Both parties have shifted the same pages |
| Paper construction | Confirmed stocks and representative nested dummy | Sample uses materially different paper from the proposed job |
| Margins and folios | Compensated preview and trimmed sample at several sheet positions | Content approaches the agreed safety clearance |
| Crossovers and borders | Specific review of sensitive spreads after adjustment | Broken continuity or visibly uneven edge relationships |
Clarify whether a sample is unprinted, printed on substitute stock or representative of the proposed production. Each provides different evidence. Use the book printing proof approval guide to record what is approved and what still requires verification.
Example Review and Quote Checklist
Illustrative example: a buyer plans 2,000 saddle-stitched program booklets with 32 text pages and a separate four-page cover. This is a hypothetical sourcing scenario, not a completed Prikoro order or a fixed quotation.
The designer has placed page numbers close to the outside edge and used a narrow border on every page. Before finalizing files, the buyer asks the printer to review the proposed text and cover stocks, nested construction and compensation method. The team compares an outside spread and a center spread instead of judging only the cover.
The safer revision brings important content farther into the approved safe area and removes the narrow border where it would expose small trim differences. The printer confirms its responsibility for creep and provides the relevant compensated preview. A representative folded and trimmed sample is reviewed before production approval.
For a useful quotation, state finished size, orientation, text page count, cover page count, blank pages, paper grades, quantity, printing colors, finishing and delivery destination. Identify inserts and sensitive crossovers, and ask whether the proposed paper and thickness suit saddle stitching.
Include the production-file arrangement and proof requirements with your booklet printing specifications. You can send Prikoro the page map and representative layouts for a project discussion. Final acceptance should use the confirmed stock and construction rather than an assumed page-count threshold.
Final Recommendation
Manage saddle stitch creep through clear specifications, suitable margins and one agreed compensation workflow. Confirm the actual paper and nested page count, avoid duplicate page shifts, and inspect sensitive artwork after the proposed adjustment. A representative folded and trimmed proof is the practical link between the PDF and the finished booklet.
Frequently Asked Questions
Is saddle stitch creep the same as bleed?
No. Bleed extends edge artwork past trim; creep describes outward displacement caused by nested folded sheets. Creep compensation adjusts content positions across those sheets. Both requirements should follow the printer’s instructions for the final booklet.
How much creep should my booklet use?
Ask the printer to determine it from the actual nested construction, paper thickness and imposition workflow. A generic number based only on page count or GSM is not a validated setting. Confirm how the software parameter translates into page movement.
Should I move inner pages manually before sending the PDF?
Only if that treatment is explicitly agreed with the printer. Commercial prepress commonly applies compensation during imposition. Manual design shifts followed by another creep adjustment can move the content too far and damage crossover alignment.
Do I send reader spreads or printer spreads?
Confirm the handoff first; many commercial workflows request individual pages in reading order and perform imposition themselves. Supply printer spreads only when requested with clear specifications. Tell the printer whether any creep adjustment has already been applied.
Does a thicker cover change the creep review?
It can change the nested construction and folding behavior. Identify the cover stock separately from the text paper and use an appropriate dummy or sample. Do not assume a previous self-cover booklet setting suits a separate-cover version.
Why are saddle-stitched page counts usually multiples of four?
An ordinary sheet folded once creates four pages. The complete nested-sheet construction therefore uses four-page units, including blank pages. Specify text and cover counts separately so the buyer and printer agree on the same page map.
Can creep compensation fix a narrow border automatically?
It may improve its position, but it cannot eliminate folding and trimming variation. Narrow borders can still emphasize small differences. Review a compensated, folded and trimmed sample, or choose a design that is less sensitive to edge clearance.
Do I need another review after changing the paper or page count?
Yes. Either change can alter the amount and distribution of creep. Update the job specification and ask which previews or physical samples must be repeated. Approval of an earlier construction should not automatically authorize the revised one.
Sources and Further Reading
Technical references linked above are Adobe InDesign’s creep adjustment and booklet setup documentation, plus Horizon’s booklet finishing system description. Layout checklists and the sourcing example are practical planning recommendations. No equipment capability, universal compensation value or factory test result is attributed to Prikoro.