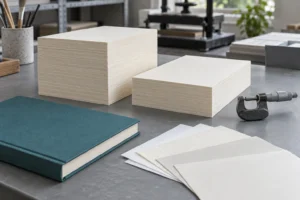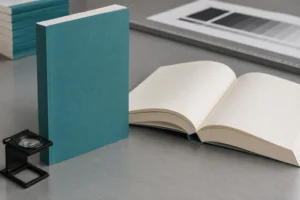
Specify hardcover book endpapers separately from the interior pages. Agree the construction, paper, visible printed surfaces, front and rear layouts, and approval sample with the printer before finalizing artwork. Endpapers contribute to the connection between the book block and the case, so appearance is only one part of the decision.
For a buyer, the biggest avoidable problems are an attractive design on the wrong surface, a paper choice that has not been checked in the binding, and a quotation that treats “printed endpapers” differently from the designer. This guide turns those broad words into a component specification you can review.
What hardcover book endpapers include
Endpapers are the leaves at the front and rear between the book block and the covers. A common arrangement includes a pastedown attached to the inside board and a free leaf that turns. Ask for the actual construction rather than assuming every hardcover has the same arrangement.
Cornell’s preservation glossary describes endpapers as protective leaves that also participate in attaching the book to its boards. It distinguishes the pastedown from the flyleaf. The terminology helps identify surfaces, but it does not specify your printer’s production layout.
The University of Liverpool’s explanation of a pastedown identifies the portion adhered to the inside cover. That surface does not turn like an ordinary interior page. A design on the pastedown therefore has a different reading position from artwork on the free leaf.
Use a marked physical mock-up to settle the terminology. Identify the inside front board, the facing free endpaper, any printed reverse, and the rear arrangement. The printer should confirm which areas remain visible after assembly. This is particularly useful when a publisher, designer and purchasing agent use different names for the same component.
For the overall book structure, see the commercial book binding guide. Keep the endpaper specification connected to the chosen case binding rather than treating it as a loose decorative insert.
Plain, colored or printed endpapers
Choose plain endpapers for a quiet transition, colored stock for a material-led accent, and printed endpapers when the artwork adds useful content or identity. Confirm availability and suitability for the binding before choosing by appearance alone.
| Option | Useful application | What to approve | Common specification gap |
|---|---|---|---|
| Plain white or cream | Text editions and restrained art books | Shade, surface and opening behavior | “White” does not identify a specific stock |
| Colored-through stock | A consistent accent through the sheet | Actual paper sample and availability | A screen swatch is mistaken for a material reference |
| Printed pattern | Illustrated editions and visual continuity | Pattern placement, printed color and visible surfaces | Front and rear orientation are left undefined |
| Printed map or diagram | Reference content or a narrative introduction | Readability in a bound sample | Important detail falls into the opening area |
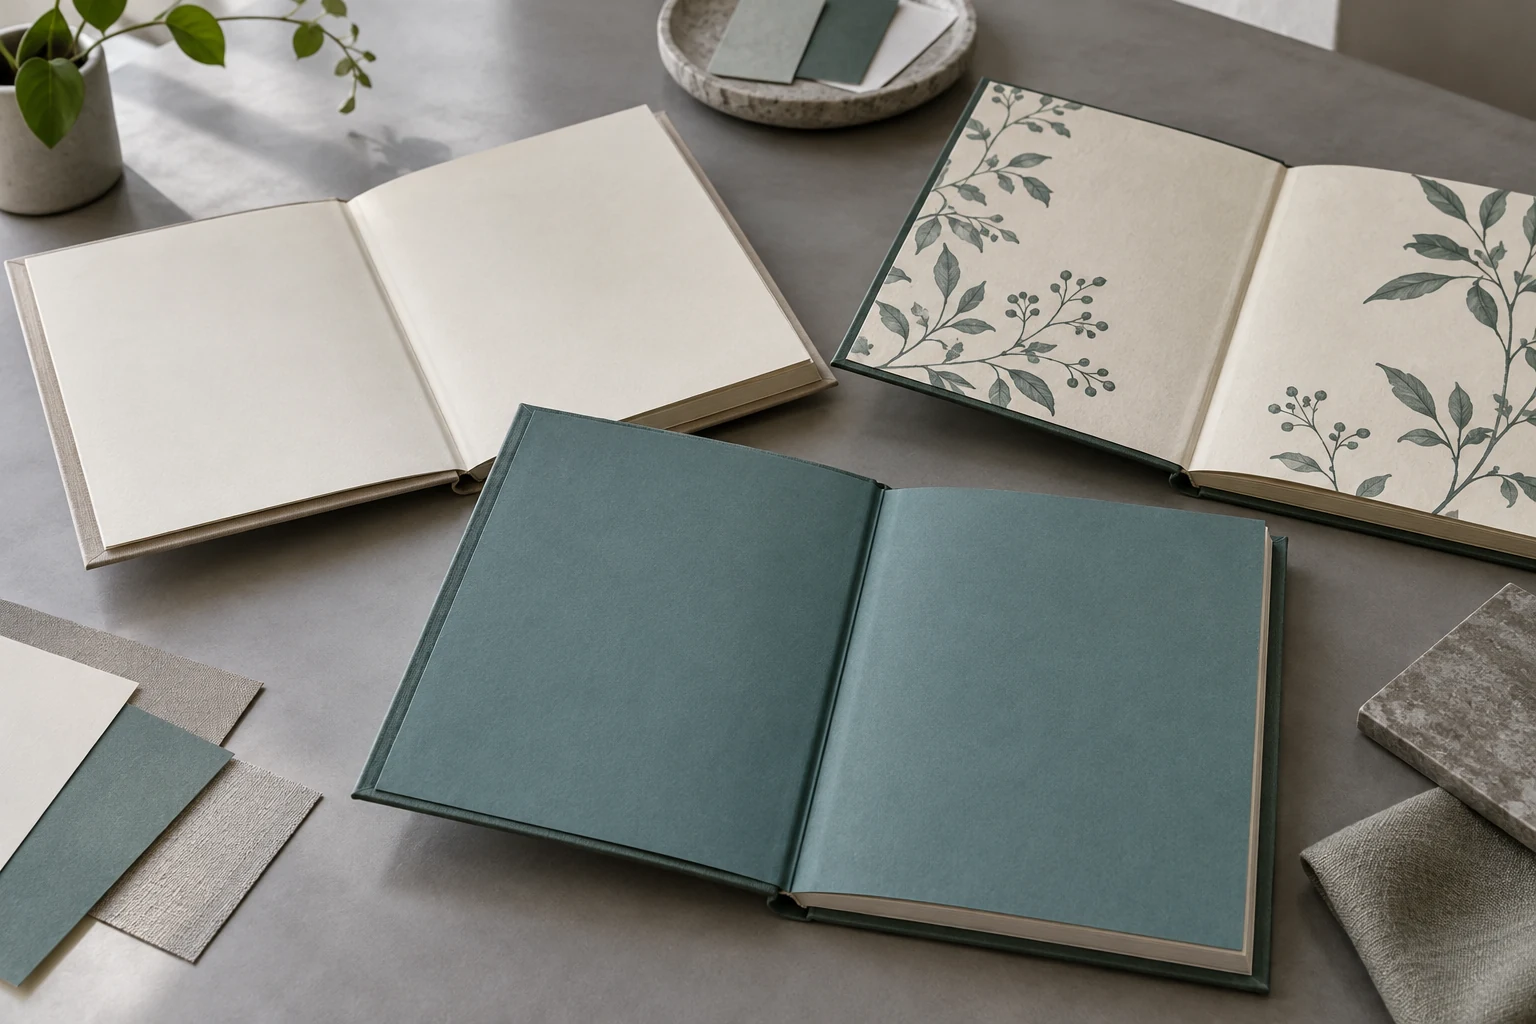
A solid color printed on white paper and a colored-through sheet are different specifications. Compare their physical appearance, the visibility of unprinted surfaces, and the proposed print treatment. Do not accept “teal endpapers” as a complete description when either approach could be supplied.
Paper manufacturers also organize materials by publishing use. For example, Fedrigoni’s publishing paper toolkit groups colored endpapers and inserts among its editorial applications. This supports requesting actual application samples; it does not establish that every decorative paper is suitable for your binding or available through Prikoro.
Choose paper for the assembled book
Approve the proposed endpaper stock in the intended construction. A heavier sheet is not automatically a stronger or better endpaper, and an interior paper that prints well is not automatically the right substitute.
Ask the printer to identify the stock by product or agreed equivalent, shade, grammage, surface and thickness information where available. Then ask how it fits the proposed binding and print process. If a substitute is offered, review it as a material change instead of approving it solely because the stated grammage matches.
Grain direction belongs in this discussion. Cornell’s glossary advises running machine direction parallel to the section fold. For practical sourcing, ask the printer to confirm the endpaper orientation in its construction and include it in the sample review. The book paper grain direction guide explains the wider planning issue.
A paper sample answers questions about shade and surface. A folded sample adds evidence about the fold. A bound sample adds the relationship with the board, opening area and adjacent pages. None of those checks should be presented as a universal durability certification.
If the edition is intended for institutional or long-term use, state the applicable purchasing requirements and request supporting material documentation. Avoid adding “archival” to the specification as an undefined marketing term. The printer needs to know what requirement must actually be met.
Prepare front and rear artwork
Use the printer’s endpaper layout, with clearly identified front and rear components. An ordinary interior spread is not a reliable replacement for a confirmed endpaper template.
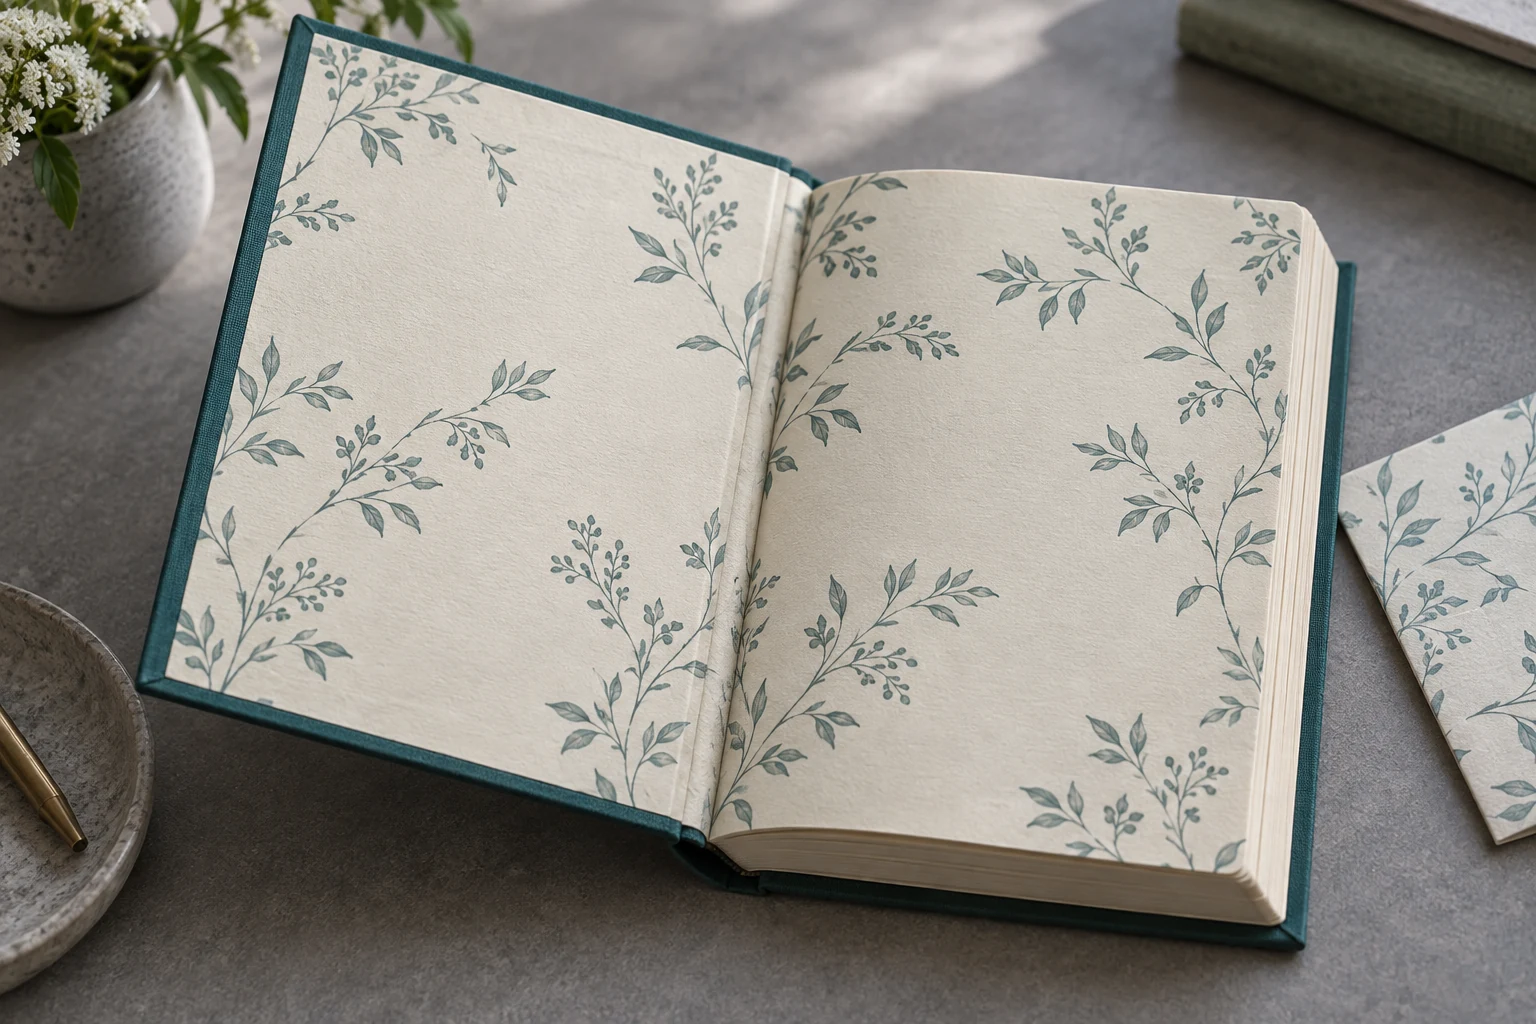
Ask for the supplied dimensions, fold position, bleed instructions and areas where important content should be avoided. Confirm whether the printer wants separate pages, a spread or another production arrangement. Do not invent a hinge allowance from the trim size or borrow one from an unrelated hardcover.
| Layout item | What to identify | Review question |
|---|---|---|
| Front component | Pastedown, free leaf and any printed reverse | What does the reader see when opening the front cover? |
| Rear component | Rear pastedown, free leaf and reading direction | Does the design read correctly at the back? |
| Opening area | Supplier-confirmed fold and restricted-content zone | Are labels or small details visible without forcing the book? |
| Printed surfaces | Every surface to be printed or left blank | Does the file match the quoted print scope? |
| Component identity | Filename, revision and approved template | Can the printer distinguish the current front and rear files? |
Continuous illustrations need special attention at the fold. A botanical pattern can tolerate a small interruption more readily than a map label or a character’s face. Put essential information on an accessible surface and test the opening in a mock-up. This is a layout recommendation, not a fixed dimensional rule.
Check the rear design independently. A file that looks correct on the front can be reversed, rotated or placed on an unintended surface at the back. Mark the mock-up with component names and reading directions, then compare it with the printer’s proof.
Keep the production PDF and the explanatory mock-up separate. The mock-up communicates position and sequence; the accepted PDF carries production artwork. For the delivery format, use the printer-agreed route described in the PDF/X book printing file guide.
Separate endpapers from page counts
State the interior page count and endpaper components on separate specification lines. Confirm how the supplier counts them for quotation, file delivery and production.
“Two printed endpapers” might mean a front and rear component, two visible spreads, or another arrangement. It does not identify all printed surfaces. List the front and rear components and mark every surface that carries ink. The printer can then map that instruction to its construction.
Do not insert blank pages into the interior PDF merely to represent endpapers unless instructed. Likewise, do not remove intended interior blanks because the book has separate free endpapers. Interior sequence and endpaper construction must both be confirmed.
Before approval, compare a reader-facing sequence from the front cover to the first interior page and from the final interior page to the rear cover. This catches a missing blank, an unintended duplicate illustration or a map placed where the reader did not expect it.
Approve the paper and bound sample
Use a physical sample for material and opening decisions, and the agreed print proof for artwork decisions. A flat PDF cannot demonstrate the assembled book’s behavior.
| Evidence | Check | Limit |
|---|---|---|
| Paper swatch | Shade, texture and feel | Does not show the assembled opening |
| Flat artwork proof | Content, orientation and printed surfaces | Does not reproduce binding geometry |
| Unprinted bound dummy | Sequence, component position and normal opening | Does not approve printed color |
| Printed bound sample | Combined layout, appearance and assembly | Only represents the documented sample specification |
Check both ends of the book. Look for unintended wrinkles, lifted areas, tears, misaligned artwork and opening that conflicts with the agreed sample. Describe concerns with photographs and their locations. Do not prescribe a repair from a photograph when the underlying material or assembly issue has not been identified.
Open the sample normally rather than pressing it flat to reach hidden content. If the design requires force to read a caption, consider moving that caption. Review the intended reader use, not an artificial stress demonstration without an agreed procedure.
Record what the sample approves: stock identity, front and rear position, print appearance, construction or all of those. If production material changes later, ask which approvals must be repeated. The book printing proof guide helps distinguish those approval scopes.
Compare quotations on the same basis
Compare endpaper quotations using the same material, printed surfaces and approval scope. An apparently cheaper option may describe a different component.
Ask whether the quoted stock is standard or specially sourced, whether the front and rear use the same artwork, and whether printing on additional surfaces changes the price. Include sample preparation and revised proofs in the comparison. Request job-specific figures rather than assuming a fixed surcharge per book.
Quantity, material availability and the proposed production route can also affect timing. If the schedule is tight, ask for an available alternative before the artwork depends on an unavailable paper shade. Agree substitutions in writing and retain a reference sample.
Keep material changes connected to the main book specification. A new endpaper choice may require another sample or scheduling adjustment even when the interior files remain unchanged. Ask the supplier to describe those consequences explicitly.
An illustrative printed-endpaper specification
Illustrative example: a publisher plans a clothbound botanical book with patterned front and rear endpapers. This is a sample planning brief, not a completed customer order.
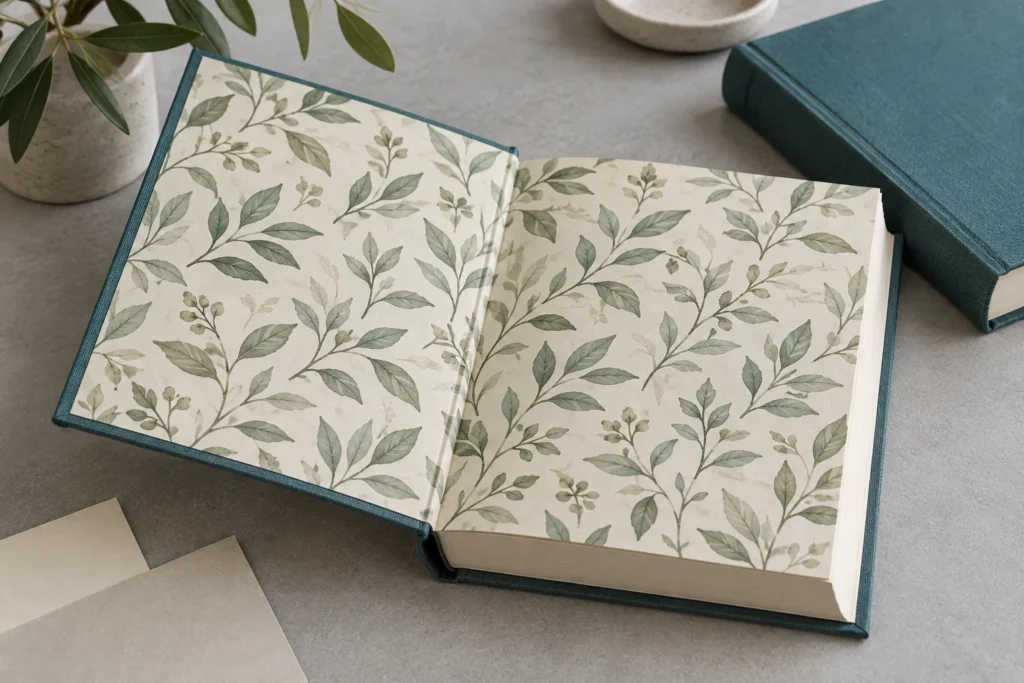
The brief lists the interior page count separately, then identifies front and rear endpaper components. The selected concept is a cream paper with restrained teal botanical printing. The stock remains subject to the printer’s construction review and an approved physical sample.
The designer requests a layout showing the pastedown, free leaf, fold and restricted-content area. Important botanical names are kept on accessible surfaces instead of crossing the opening. The rear artwork is reviewed separately to confirm its orientation.
The approval plan includes a material sample, a position mock-up, a print proof and a bound sample with documented construction. If a paper substitute is proposed, the publisher checks the affected approvals again. The objective is a clear shared specification; no measured strength or guaranteed color match is claimed.
Prepare a Prikoro enquiry
A useful hardcover book endpapers enquiry includes the paper concept, every printed surface and the intended approval method. Supply the overall trim size, interior page count, binding, cover material, quantity and destination alongside those details.
Describe whether you want plain, colored-through or printed endpapers and whether front and rear artwork differs. Include a marked mock-up if the surface arrangement is important. Ask Prikoro to confirm the available construction and file layout before treating your design as production ready.
For an illustrated edition, connect the endpaper brief to the wider art book printing specification. Send the brief through the Prikoro contact page. For related component decisions, browse the book manufacturing articles. Approving the component clearly helps keep design, purchasing and production instructions aligned.
Frequently Asked Questions
Are endpapers the same as the first and last interior pages?
No. Identify the endpaper construction separately from the numbered or unnumbered interior sequence. Ask the printer which files and components it requires.
What is the difference between a pastedown and a free endpaper?
The pastedown is attached to the inside cover; the free leaf turns. Label both positions in the artwork mock-up so their intended content is clear.
Are endpapers included in the quoted page count?
Confirm the supplier’s counting convention. State the interior count and endpaper components separately to avoid an assumption becoming part of the order.
Can front and rear endpapers have different artwork?
Request that option explicitly and confirm production availability and pricing. Supply clearly identified front and rear files using the agreed layout.
What GSM is best for hardcover endpapers?
There is no single value suitable for every construction. Ask for a proposed stock and review its material properties and behavior in the intended bound sample.
Should I print important text across the hinge?
Keep essential text within the supplier-confirmed accessible area. Test the reading position in a mock-up instead of relying on a flat spread.
Is colored paper equivalent to printing a solid color?
No. Specify whether the shade comes from the stock or from printing. Compare actual samples and identify which surfaces will remain unprinted.
Can a PDF proof approve the endpaper construction?
No. It can support artwork approval, but paper feel, component position and normal opening require appropriate physical evidence.
Sources and Further Reading
References linked above: Cornell’s Library Preservation and Conservation Tutorial glossary; University of Liverpool Special Collections and Archives on pastedowns; and Fedrigoni’s publishing paper toolkit. These support terminology and material-selection context. The checklists and sample brief are practical sourcing guidance, not a conservation treatment procedure or a claim about Prikoro’s tested production performance.