Book printing image resolution should be checked at the image’s final placement size, after scaling and cropping. For continuous-tone photographs, 300 pixels per inch is a useful planning target, subject to the printer’s requirements. A file labeled “300 PPI” can still be unsuitable if it contains too few pixels, has been enlarged heavily or was blurry before it entered the layout.
The practical question is how much usable detail the image supplies to the printed area. This guide shows how to calculate effective PPI, separate resolution problems from other causes of softness, and check that the final PDF preserves the intended quality. It focuses on photographs and raster illustrations; fine line art and text need their own production decisions.
Book Printing Image Resolution: PPI, Pixels and DPI
PPI describes image pixels per printed inch. Pixel dimensions describe the image’s width and height in pixels. Printer DPI describes output-device dots and should not be substituted directly for the photograph’s required PPI.
Adobe’s printed image resolution guidance explains the relationship between pixels, print size and resolution. Without resampling, changing resolution changes the associated physical print dimensions while preserving the pixel data.
| Term or number | What it tells you | What it cannot establish |
|---|---|---|
| Pixel dimensions | The stored image grid, such as 2400 × 3000 pixels | Whether the original photograph is in focus |
| Resolution metadata | The file’s nominal PPI and associated print size | Effective PPI after placement and scaling |
| Effective PPI | Pixel density at the actual layout size | Whether compression or editing has damaged detail |
| Printer DPI | A device’s dot-addressing specification | The photo’s needed pixel dimensions by itself |
| File size in MB | Storage size influenced by compression and file structure | Sharpness or suitability for a particular page size |
Adobe’s print dimensions instructions recommend 300 PPI unless the printer specifies another value. Treat that as a starting point for photographs, rather than a guarantee for every image or a rule that all artwork types use the same setting.
Calculate Pixels for the Final Print Size
Calculate each dimension separately: required pixels = print dimension in inches × target PPI. For metric dimensions, divide millimeters by 25.4 to obtain inches. Round required pixel dimensions upward when planning a new asset.
To check an existing image, reverse the calculation: effective PPI = image pixels along an axis ÷ placed image size in inches along that axis. Check both axes, especially if an image has been distorted or fitted to an unfamiliar aspect ratio.
| Illustrative image area | Pixels at a 300 PPI target | Planning note |
|---|---|---|
| 4 × 6 inches | 1200 × 1800 pixels | Calculate from the printed image area, not the whole book trim |
| 6 × 9 inches | 1800 × 2700 pixels | Image-only example; no additional bleed included |
| 8 × 10 inches | 2400 × 3000 pixels | A full-page photograph may require extra area beyond trim |
| 210 × 297 mm | 2481 × 3508 pixels | Rounded upward; no bleed included |
| 12 × 8 inches | 3600 × 2400 pixels | Wide image example; review any binding-related composition separately |
These are arithmetic planning examples, not fixed Prikoro artwork acceptance limits. They assume a 300 PPI target and the specified rectangular image area. Your crop, bleed and supplier’s output requirements can change the source dimensions needed.
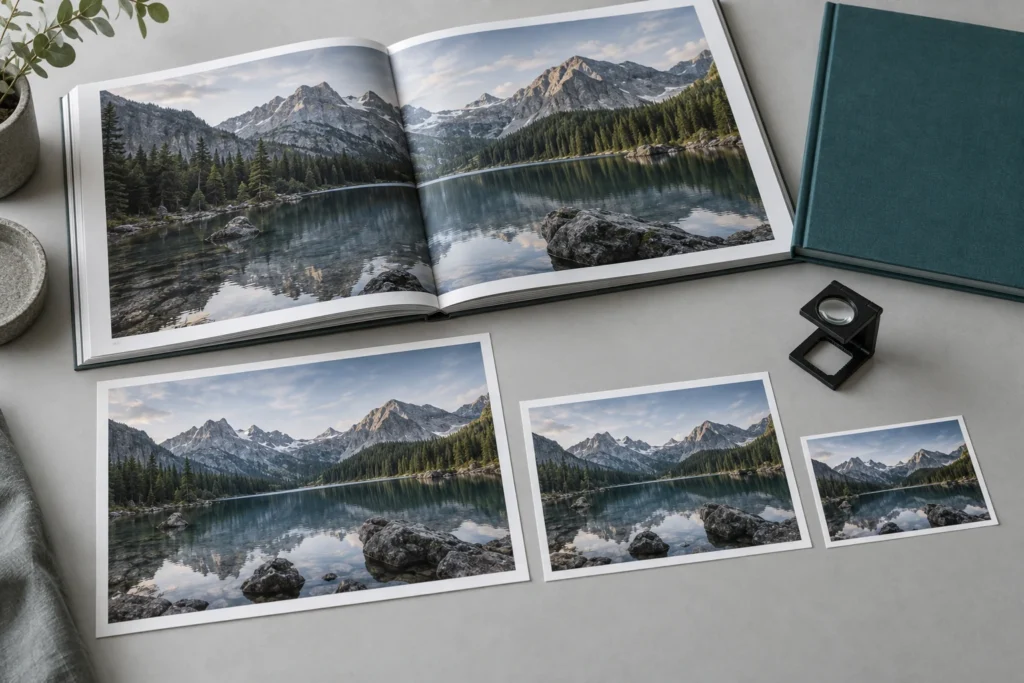
A 2400-pixel-wide photo placed 8 inches wide supplies 300 PPI along its width. At 12 inches wide, the same pixels supply 200 PPI. Changing its metadata to 300 PPI does not alter those results when you keep the same pixels and placed width.
Check Scaling, Cropping and Full-Bleed Images
Enlargement lowers effective PPI unless pixels are added through resampling. Cropping matters when a smaller portion of the source must be enlarged to fill the same frame. Hiding an image edge without changing the image’s scale does not itself reduce the pixel density.
For example, if you retain a 1200-pixel-wide section of a larger photograph and make that section cover an 8-inch-wide area, it supplies 150 PPI across the visible width. The original file’s total pixel count is no longer enough to describe that cropped placement.
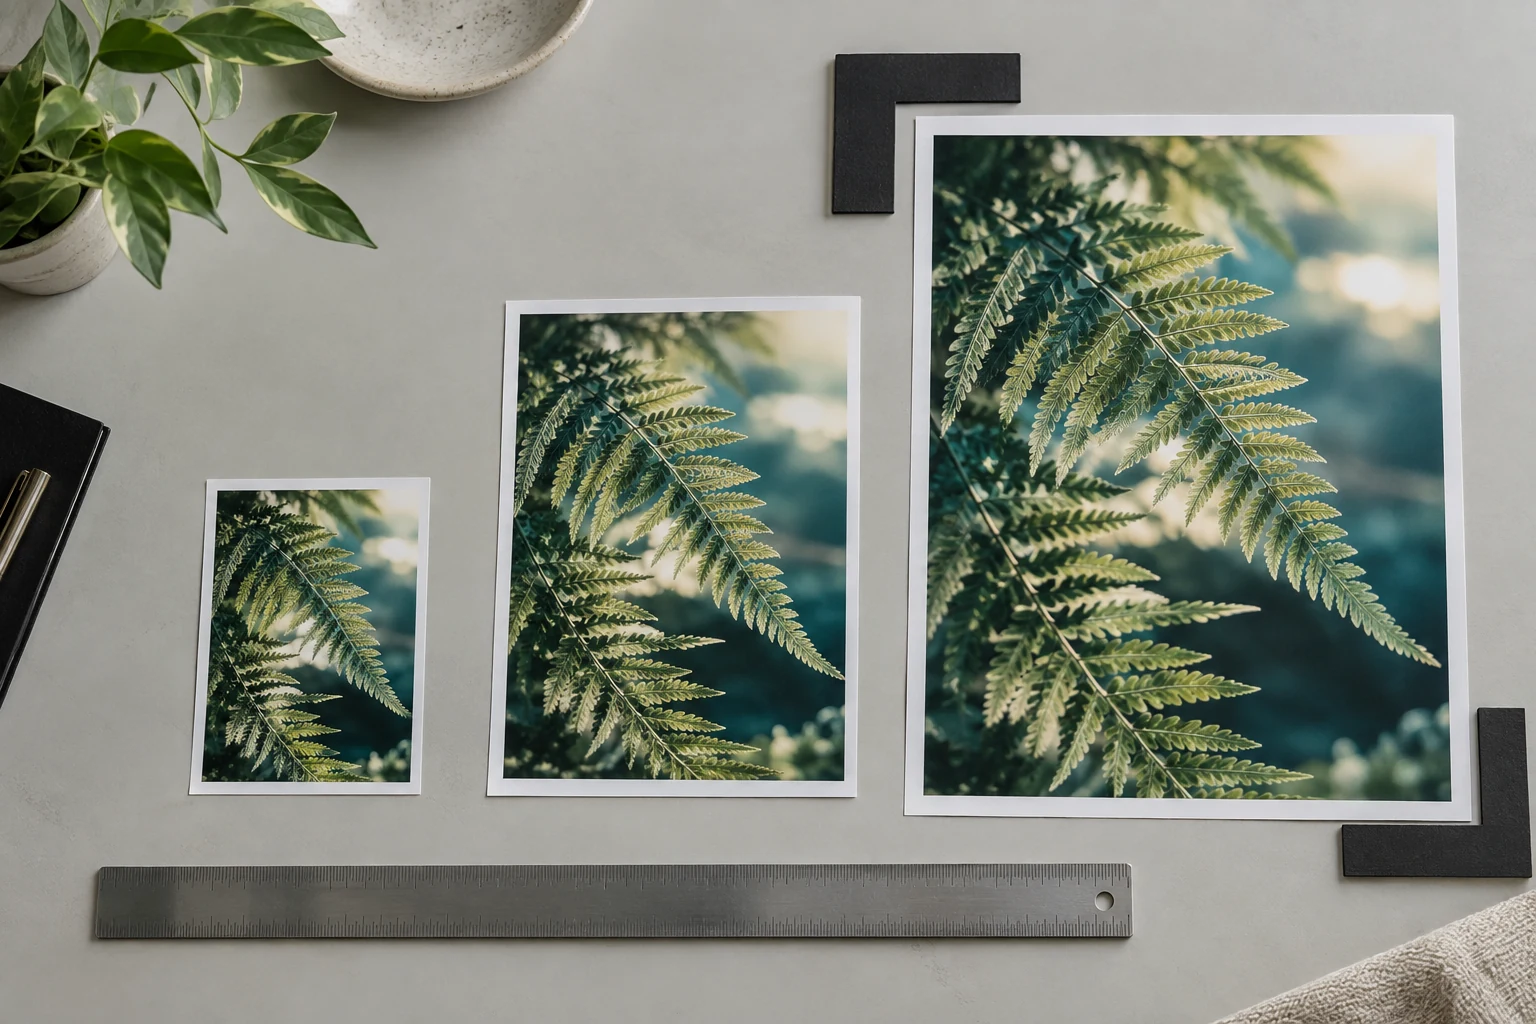
For an image that extends to the page edge, calculate using the full image area including the printer’s requested bleed. A photograph sized only to trim may be enlarged during layout to cover the extra area. Refer to the final template and confirm the bleed specification before preparing the crop.
A double-page photograph also needs a composition check. Faces, fine details and important text should not disappear into the binding area. Pixel sufficiency does not resolve that problem. Discuss the intended spread with the printer as part of your art book printing specifications.
Diagnose Soft Images Before Replacing Them
Softness can come from the source photograph, the layout preview, image compression, export settings or the printing conditions. Identify the stage where quality changes before paying for new assets or changing the book format.
| Visible symptom | Likely investigation | Useful next action |
|---|---|---|
| Blocky edges after enlargement | Insufficient effective PPI or damaged source | Check pixel dimensions, crop and actual placed size |
| Soft subject with plenty of pixels | Focus, motion blur or excessive noise reduction | Inspect the original image before modifying export settings |
| Blurry layout preview but sharp original | Low-quality display proxy | Change display quality, then inspect the exported PDF |
| Detail changes between layout and PDF | Downsampling, compression or an incorrect linked asset | Compare the source, link and export settings |
| Sharp file but disappointing printed detail | Proof process, stock, reproduction conditions or source expectations | Review a suitable proof with the supplier before approving production |
Adobe’s InDesign display troubleshooting guidance distinguishes on-screen display quality from output quality. A sharper display setting is useful for inspection, but it does not add pixels to the source or override PDF export settings.
A file with heavy JPEG artifacts can meet the requested PPI while showing damaged detail. Likewise, increasing dimensions cannot correct a missed focus point. Review important edges, textures and tonal areas in the original and again in the PDF. Avoid judging quality solely by a file’s megabyte size.
Choose a Sensible Low-Resolution Fix
The most reliable options are to obtain a better source or reduce the printed image size. If those options are unavailable, choose between a lighter crop, a revised layout, a carefully evaluated enlargement or an explicitly accepted limitation.
Look for the original before enlarging a derivative
Ask the photographer, illustrator or publisher for the original export. A website download, messaging preview or screenshot may contain fewer pixels and more compression than the master. Confirm image rights and the approved content version as well as technical quality.
Resize the layout around the usable image
A smaller framed photograph may preserve detail better than a full-page enlargement. A wider crop can retain more original information when the composition allows it. Review the design impact rather than treating every low-resolution warning as a reason to change the whole book’s trim size.
Evaluate resampling without overstating restoration
Resampling adds or removes pixels. An enlarged image may look smoother, but an increased pixel count does not prove that the original scene detail has been recovered. Enhancement can also introduce halos, altered textures or invented-looking features. Compare a trial at final size before approving it.
Keep small lettering, diagrams and logos as suitable vector artwork where possible. Text baked into a photograph remains raster detail and becomes harder to reproduce when enlarged. Fine monochrome line art should follow its own supplier specification, rather than borrowing the photograph target.
Verify the Layout and Exported PDF
Check effective resolution in the final layout, then verify the PDF that will actually be sent for printing. A source file with adequate pixels can still be exported with unsuitable downsampling or excessive compression.
Adobe’s InDesign Preflight panel documentation describes monitoring production issues, including low-resolution images and link problems. Configure the profile for your printer’s requirements and intended image types; a green status indicator is meaningful only for the checks included in that profile.
Check for missing or modified links and confirm that the layout uses the intended high-quality originals. Review effective PPI after fitting and cropping are final. Where a placed PDF contains several images, do not assume that one overall link value describes every image inside it.
Use the printer’s agreed PDF preset or settings. Confirm how color and grayscale photographs are downsampled and compressed, and keep monochrome artwork requirements separate. Do not apply aggressive website-style compression to the production PDF merely to make an email attachment smaller; agree a transfer method instead.
Inspect representative exported pages at final physical size where practical, then zoom in to investigate specific defects. A screen zoom percentage does not automatically reproduce true print dimensions on every monitor. When fine photographic detail drives the purchase decision, use an appropriate physical proof.
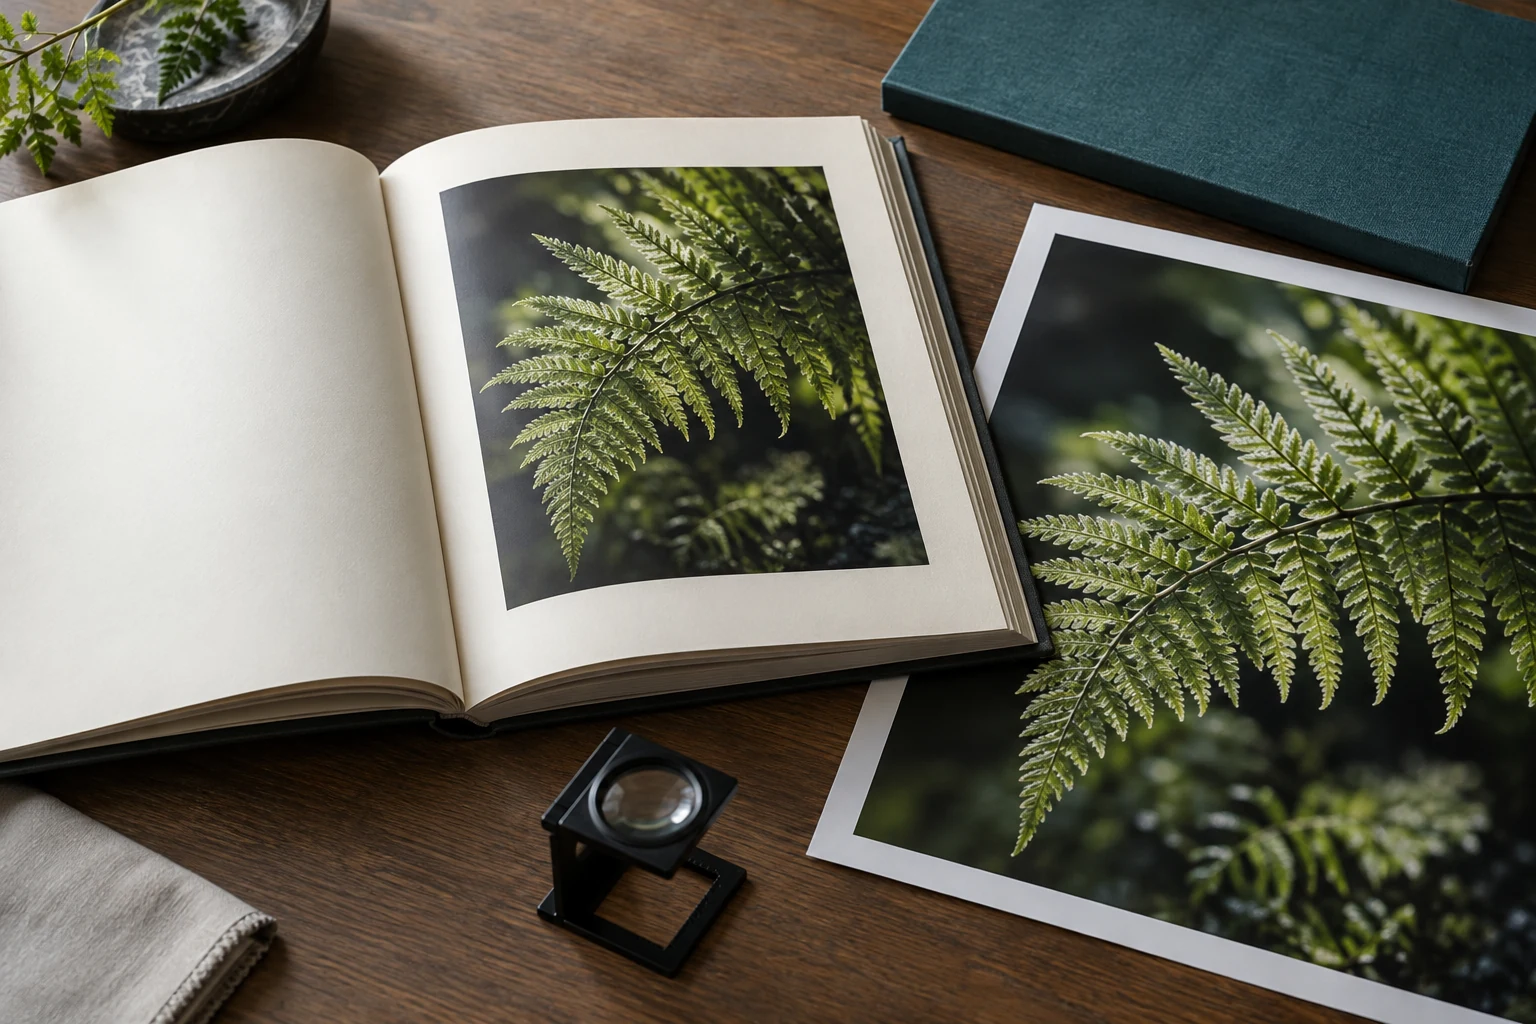
Our book printing proof approval guide explains how to define what each proof should establish. A desktop print can help reveal a layout problem, while paper texture and production reproduction may require different evidence.
Example Photo-Book Review and Supplier Checklist
Illustrative example: a publisher is planning a 1,000-copy hardcover photography book with an 8 × 10-inch trim. One image is intended to occupy an 8 × 10-inch area before any bleed is added. This is a hypothetical planning scenario, not a completed Prikoro order or a price quotation.
The source is 2400 × 3000 pixels, which corresponds to 300 PPI for that uncropped area. If the designer retains only 1600 pixels across the width and enlarges that crop to 8 inches, the width becomes 200 PPI. The publisher should review the original composition, available alternatives and printer’s recommendation before accepting the placement.
The team records the final crop, accepted resolution and PDF revision. It reviews a representative proof containing that image and other demanding photographs. If the design later expands the image area or changes the crop, it repeats the relevant check rather than relying on the earlier approval.
Before requesting production approval, give the supplier the book trim size, binding, paper, quantity, intended image areas, final PDF and a list of any deliberately accepted image limitations. Ask which photographic resolution target, PDF compression settings and proof process apply to the proposed job.
For image-heavy casebound books, include those decisions with your hardcover book printing requirements. You can send Prikoro the proposed book specifications and representative files for a project discussion. Include difficult images early so the review can happen before the layout is locked.
Final Recommendation
Check book printing image resolution using the actual pixels, retained crop and final placement size. Use the agreed photographic PPI target as one part of the review, alongside source sharpness, compression and PDF export. Resolve weak images before approval and use appropriate proofs for details that matter to the finished book.
Frequently Asked Questions
Is 300 PPI always required for book photographs?
It is a useful planning target for close-viewed continuous-tone photographs, but the selected printer’s requirements control acceptance. Image content, paper and reproduction conditions affect the result. Meeting the target does not guarantee that the original photograph is sharp.
Does changing an image from 72 PPI to 300 PPI improve quality?
Changing only the metadata does not create image detail. With resampling disabled, the pixel dimensions stay the same and the associated print size changes. Effective PPI still depends on the size at which those pixels are placed in the book.
How many pixels do I need for an 8 × 10-inch image?
At a 300 PPI target, an uncropped 8 × 10-inch image area requires 2400 × 3000 pixels. Add any required bleed area to the calculation and consider whether the intended crop uses all of those source pixels.
Does cropping always lower effective PPI?
No. Hiding part of an image while keeping its scale unchanged leaves its pixel density unchanged. Effective PPI falls when a smaller retained portion is enlarged to fill a larger area. Check the actual placed image scale after fitting the crop.
Why does my high-resolution photo look blurry in InDesign?
It may be displayed through a lower-quality preview proxy. Change the display setting and inspect the exported PDF before concluding that the source is inadequate. Also check the linked original, effective PPI and export settings.
Can image enlargement rescue a small website photo?
It may improve its appearance in some uses, but it cannot guarantee accurate recovery of missing original detail. First seek a higher-quality source or reduce the printed size. Assess any enhanced version at final size and review important content for unwanted changes.
Does a large JPEG file automatically mean print-ready quality?
No. Storage size depends on compression, dimensions and other file data. Inspect the actual pixels, source sharpness, crop and intended print size. A large file can still contain blur, artifacts or a heavily enlarged low-detail image.
Should photographs, logos and line drawings use the same resolution?
No. Keep suitable logos and text as vector artwork where possible, and follow separate supplier requirements for raster line art. The photographic PPI target is intended for continuous-tone images and should not be applied blindly to every artwork type.
Sources and Further Reading
Technical references linked above are Adobe Photoshop’s printed image resolution and print dimensions guidance, Adobe InDesign’s display troubleshooting instructions and its Preflight panel documentation. Pixel tables are transparent calculations at the stated 300 PPI target. Supplier acceptance limits and physical proof requirements remain project-specific.